The delightful chill of peppermint ice cream is a flavor many associate exclusively with the festive holiday season. But what if you could indulge in that refreshing, minty sweetness any time of year, without the disappointment of limited grocery store availability or the compromise of store-bought versions filled with unfamiliar ingredients? The good news is, you absolutely can! Crafting your own homemade peppermint ice cream is not just achievable; it's a culinary journey that promises a divinely creamy, icy-free dessert that far surpasses anything you'll find in the freezer aisle. Get ready to unlock the secrets to a perfect scoop, bursting with fresh mint flavor and delightful texture, right in your own kitchen.
Why Homemade Peppermint Ice Cream Trumps Store-Bought
There's a fundamental difference between commercial ice cream and a truly exceptional homemade batch, and it often comes down to texture and purity of flavor. Store-bought ice creams rely heavily on stabilizers and emulsifiers to achieve their consistent, often prolonged, shelf life and texture. While these can produce a decent product, they rarely capture the rich, authentic mouthfeel of a homemade treat. When you make your own homemade peppermint ice cream, you gain complete control over every ingredient, ensuring a purer taste and a superior, velvety texture.
Our goal isn't just to make peppermint ice cream; it's to make the best peppermint ice cream. This means avoiding the common pitfall of homemade ice cream turning icy. The secret lies in a traditional method that infuses the ice cream with natural emulsification and richness, thanks to a key ingredient: egg yolks. Beyond the unparalleled creaminess, making your own allows you to adjust the intensity of the peppermint, the sweetness, and the quantity of delightful crunch from crushed candy canes. Forget waiting for the holidays; with this peppermint ice cream recipe, you can enjoy this festive favorite any day of the year.
The Secret to Silky Smooth Peppermint Ice Cream: A Custard Base
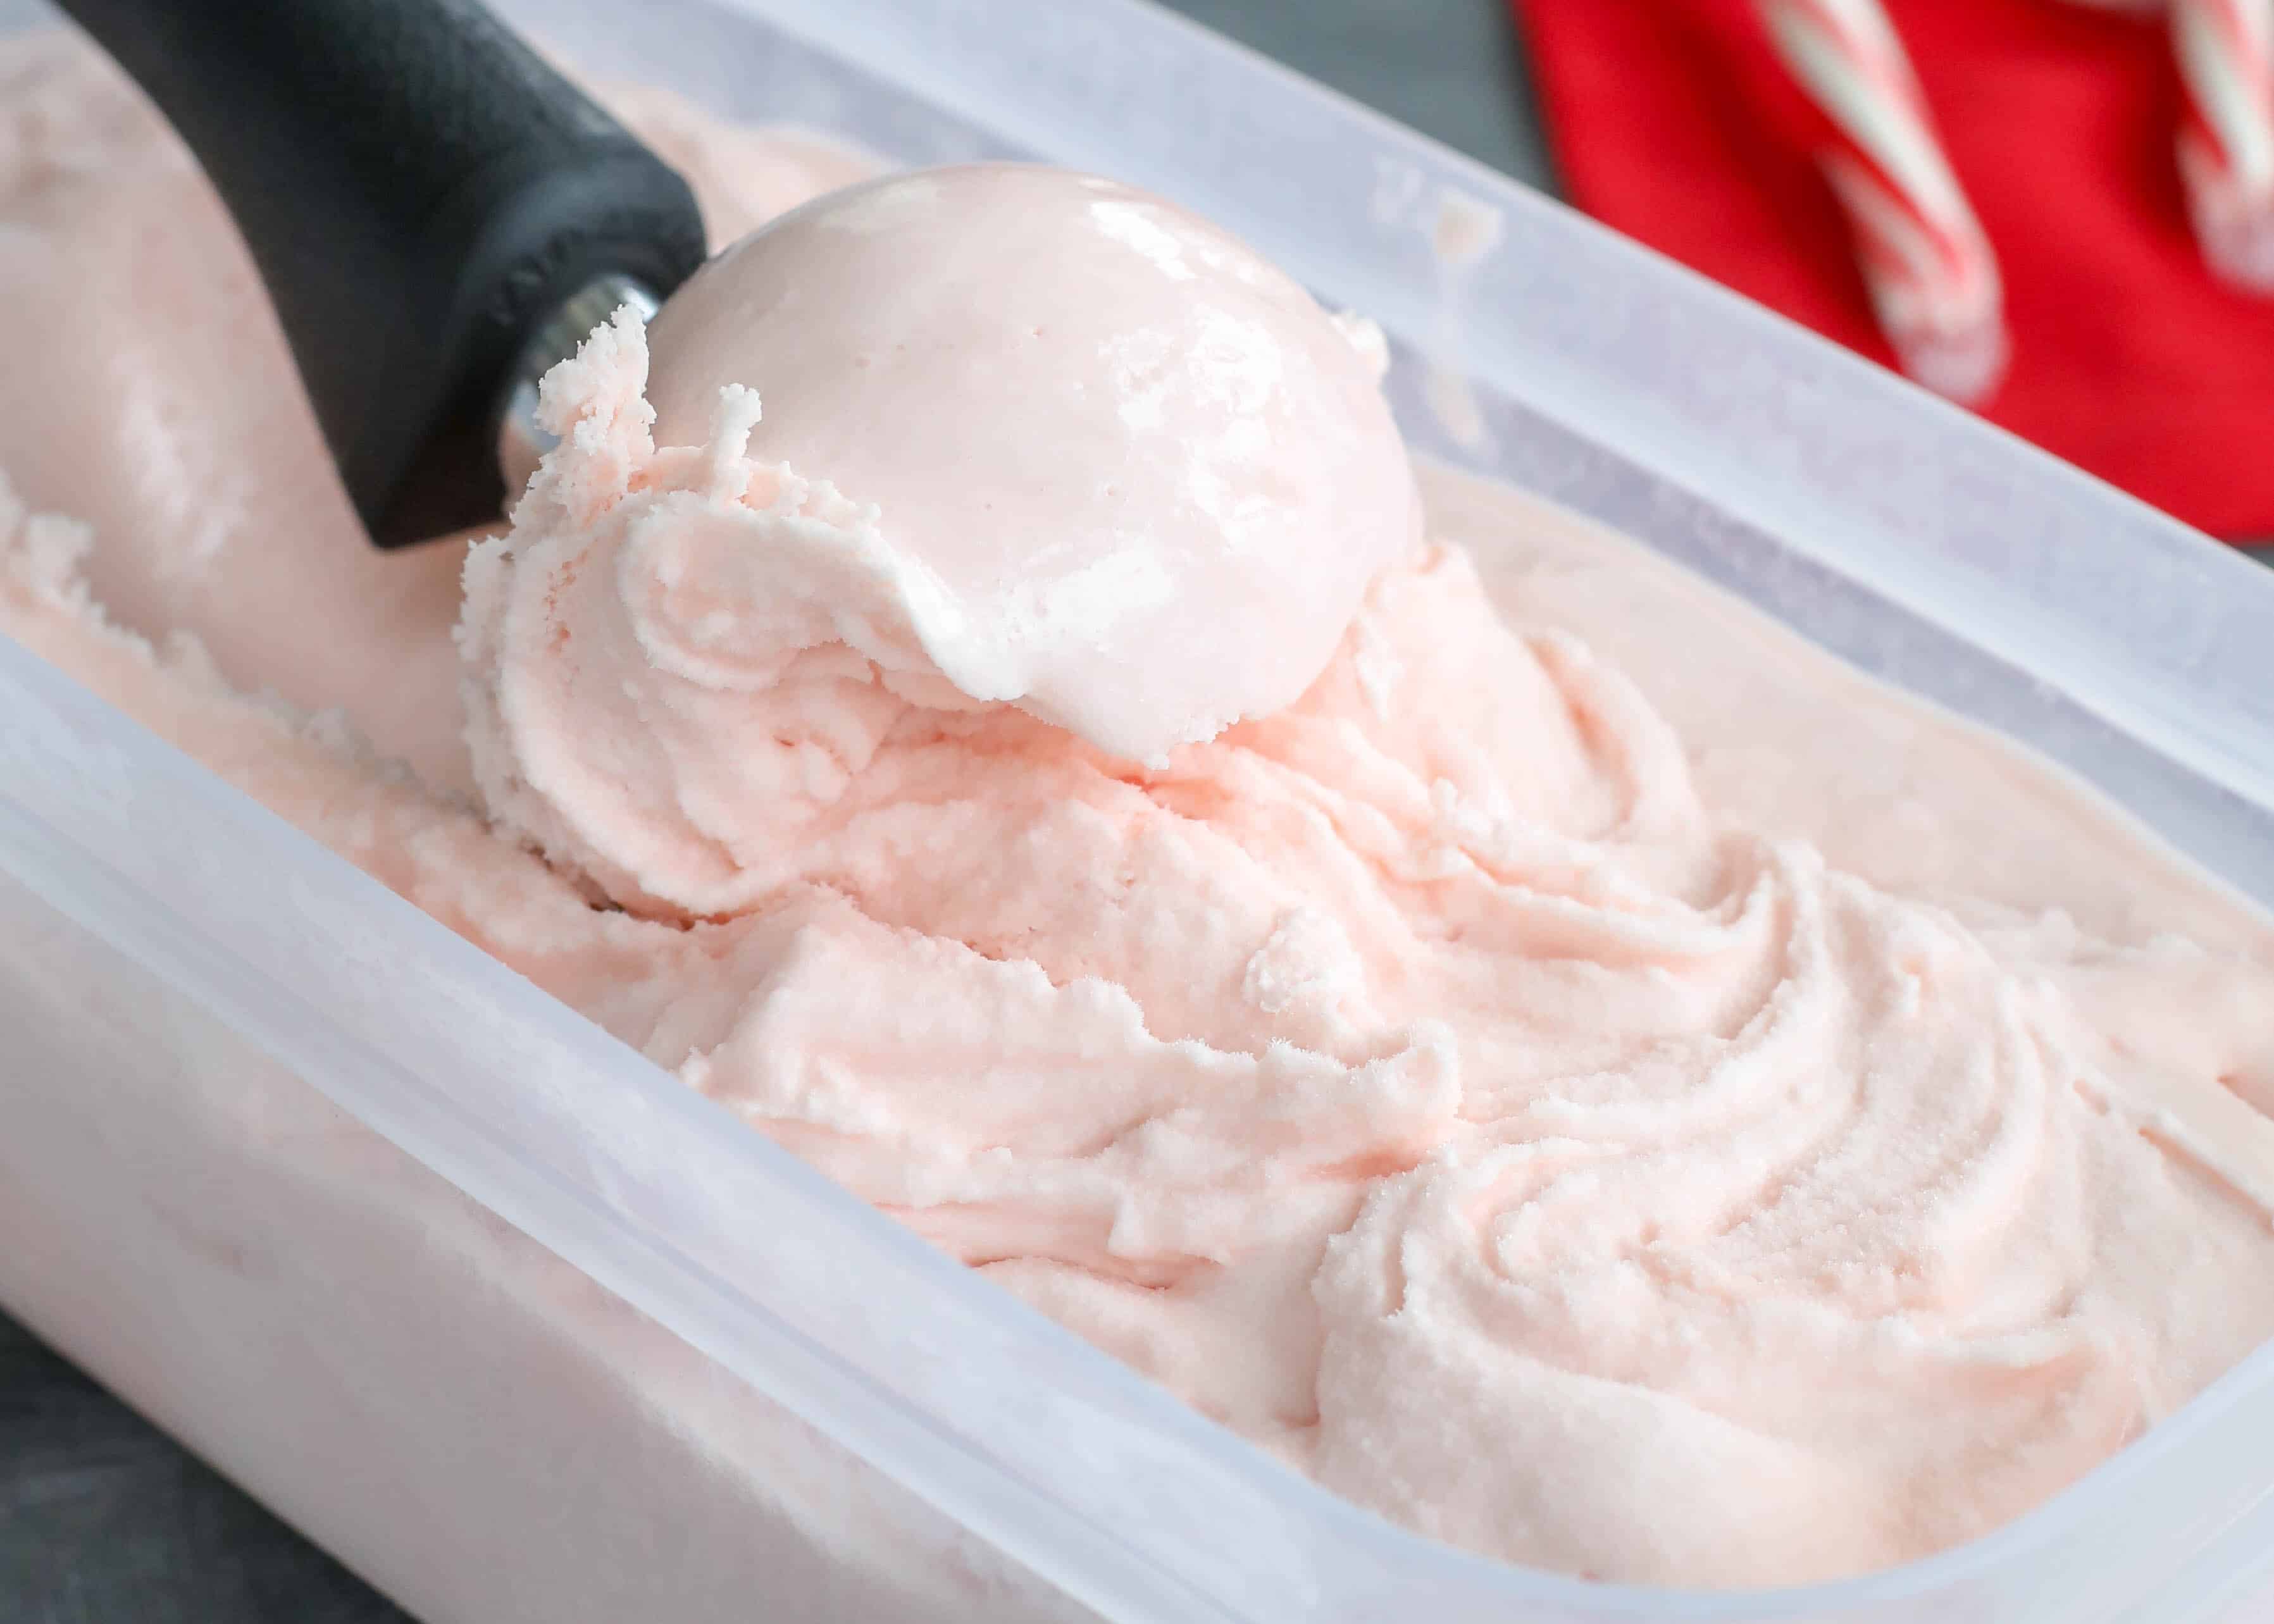
The cornerstone of an "icy-free" homemade ice cream experience is the custard base, also known as a French-style ice cream. While it requires a little more attention than simpler no-churn recipes, the payoff in texture and richness is immeasurable. This method, often championed by dessert aficionados, employs egg yolks to create a luxuriously creamy foundation. The yolks act as natural emulsifiers, binding fat and water molecules, which significantly reduces the formation of large ice crystals that lead to a gritty or icy texture. They also contribute a rich, almost buttery flavor that complements the vibrant peppermint beautifully.
Think of it as the difference between a simple frozen milk and a decadent crème brûlée. The custard method introduces a depth of flavor and a silky smoothness that sets your homemade ice cream apart. The process involves gently cooking a mixture of dairy, sugar, and egg yolks to a specific temperature, thickening it into a rich custard before chilling and churning. This step is critical, and precision with temperature, often aided by an instant-read thermometer, ensures perfect results every time. Learning to make a proper custard base is not just for peppermint ice cream; it's a foundational skill for crafting many of the world's most divinely flavored ice creams.
Essential Ingredients for Your Perfect Peppermint Ice Cream
The magic of this peppermint ice cream recipe comes from a thoughtful combination of high-quality ingredients. Each plays a crucial role in achieving the desired flavor and texture:
- Heavy Whipping Cream & Half-and-Half: This dynamic duo forms the dairy backbone of your ice cream. The high fat content of heavy cream provides richness and contributes significantly to the creamy mouthfeel, while the half-and-half lightens it slightly, creating a balanced, luxurious texture without being overly dense.
- Granulated Sugar: Beyond sweetness, sugar plays a vital role in the ice cream's texture. It lowers the freezing point, preventing the mixture from freezing solid and contributing to that desirable scoopable consistency.
- Fine Sea Salt: A pinch of salt is crucial to balance the sweetness and enhance all the other flavors, particularly the mint. Don't skip it!
- Egg Yolks: The stars of our custard base. These provide emulsification, preventing iciness, and add incredible richness and body to the ice cream.
- Peppermint Extract: This is where the signature minty flavor comes from. Use a good quality extract for the best results. You can adjust the amount to your personal preference for mint intensity.
- Vanilla Extract: Often overlooked in mint recipes, a touch of vanilla extract adds a layer of warmth and complexity, rounding out the sharp mint flavor beautifully.
- Crushed Mint Candies or Candy Canes: These are essential for adding both an extra burst of minty flavor and a delightful textural crunch. For best results, crush them finely but not into a powder – you want visible flecks and small pieces. A sturdy bag and a rolling pin, or a food processor pulsed gently, works well.
- Optional: Food Coloring: For that iconic holiday look, a few drops of green or red food coloring can be added along with the extracts. This is purely aesthetic but adds to the festive appeal.
Step-by-Step Guide: Crafting Your Peppermint Ice Cream Recipe
Ready to embark on your homemade ice cream adventure? Here’s a detailed guide to creating the creamiest, most flavorful peppermint ice cream.
Step 1: Prepare the Velvety Custard Base
- Heat the Dairy: In a large, heavy-bottomed saucepan, combine the half-and-half, granulated sugar, and salt. Heat over medium-low heat, stirring occasionally, until the mixture reaches 175°F (79°C) and the sugar and salt are fully dissolved. Do not let it boil.
- Temper the Eggs: While the dairy heats, whisk the egg yolks in a separate bowl until smooth. Once the half-and-half mixture is hot, slowly ladle about ½ cup of the hot liquid into the whisked egg yolks, whisking continuously. This crucial step, called tempering, gradually raises the temperature of the eggs, preventing them from scrambling when added to the hot pan.
- Combine and Thicken: Slowly pour the tempered egg mixture back into the saucepan with the remaining hot half-and-half, whisking constantly. Continue cooking over low heat, stirring constantly with a wooden spoon or silicone spatula, until the mixture thickens enough to coat the back of a spoon (nappe consistency) and reaches 160°F (71°C). Do not boil, as this can curdle the eggs.
- Remove from Heat: As soon as it reaches temperature and coats the spoon, immediately remove the saucepan from the heat.
Step 2: Cool and Infuse Your Flavors
- Rapid Cooling: Immediately transfer the hot custard to a large, clean bowl. Set this bowl inside an even larger bowl filled with ice water (an ice bath). Stir gently and occasionally for about two minutes. This rapid cooling stops the cooking process and prevents the custard from overcooking.
- Add Remaining Dairy and Extracts: Stir in the cold heavy whipping cream, vanilla extract, and peppermint extract. If using food coloring, add it now.
- Thorough Chilling: Press plastic wrap directly onto the surface of the custard to prevent a skin from forming. Refrigerate for at least 4 hours, or preferably overnight. A fully chilled custard is essential for the ice cream maker to churn effectively and create the creamiest texture.
Step 3: Churn to Perfection
- Prepare Your Ice Cream Maker: Ensure your ice cream maker's freezing bowl is completely frozen (usually requires 12-24 hours in the freezer). Assemble your machine according to the manufacturer's instructions.
- Churn the Custard: Pour the thoroughly chilled custard mixture into the ice cream maker. Churn according to your machine's instructions, typically 20-30 minutes, until the mixture is thick and resembles soft-serve ice cream.
- Add Mix-ins: During the last 5 minutes of churning, add the crushed mint candies or candy canes. This ensures they are evenly distributed throughout the ice cream without being completely pulverized.
Step 4: Freeze for Optimal Texture and Storage
- Transfer and Cover: Transfer the churned ice cream to an airtight freezer-safe container. To prevent ice crystals from forming on the surface, press a layer of plastic wrap or waxed paper directly onto the surface of the ice cream before securing the lid.
- Final Freezing: Place the container in the coldest part of your freezer (usually the back) for at least 4-6 hours, or until firm. Storing it in the back helps prevent temperature fluctuations that can compromise texture.
- Storage Duration: Homemade ice cream does not contain the preservatives of commercial versions, so it is best enjoyed within a week. After about 7 days, it may start to develop a slightly icier texture.
- Serving: For the best scooping experience, let the hardened ice cream soften at room temperature for 5-10 minutes before serving.
Serving Suggestions and Creative Pairings
While a simple scoop of your homemade peppermint ice cream in a dish is pure bliss, don't hesitate to get creative with serving! It's utterly divine drizzled with warm chocolate syrup, making for a classic holiday flavor combination. For a truly indulgent experience, sandwich it between two fudgy chocolate Christmas cookies or serve a scoop atop a warm, gooey brownie. It also makes an exceptional milkshake, especially when blended with a touch of milk and extra chocolate syrup. For an adult treat, consider an "affogato" style serving, pouring hot coffee or even a splash of peppermint schnapps over a scoop!
Conclusion
Making your own peppermint ice cream recipe from scratch is a rewarding endeavor that yields an extraordinary dessert. By embracing the traditional custard method, you're not just making ice cream; you're crafting an experience that's rich, divinely creamy, and wonderfully free from the dreaded iciness that can plague homemade versions. This recipe transforms a seasonal craving into a year-round possibility, offering a fresh, vibrant flavor and satisfying crunch that store-bought varieties simply can't match. So, gather your ingredients, follow these steps, and prepare to delight your taste buds with the ultimate homemade peppermint ice cream – a true secret weapon in any dessert lover's arsenal.
